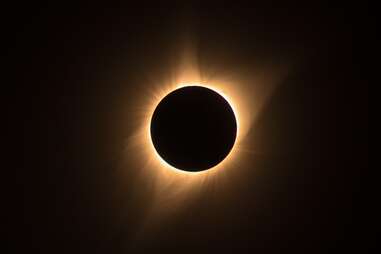
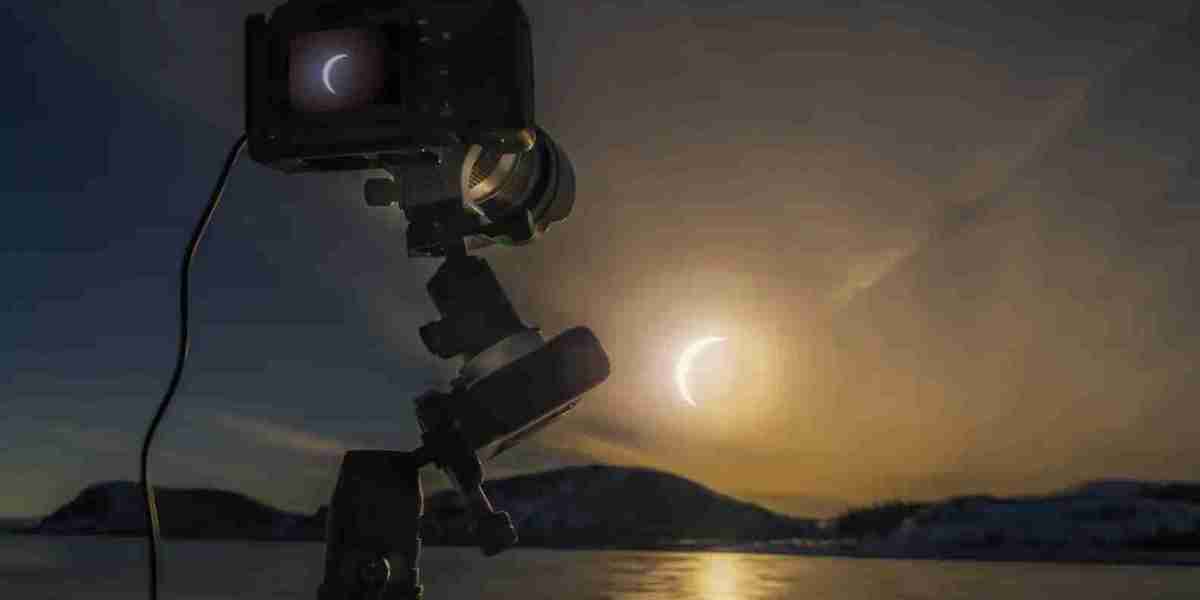
It's not because they want you to miss out on it, rather because they really want you to enjoy it. Reportedly, eclipse photography is really complicated, and unless you're equipped with the right camera and have a solid background in astrophotography, the chances of ending up with an unsatisfying final product are, unfortunately, pretty high.
However, for all those amateur photographers out there, there is a "but," if you want to read between the lines. In short, if you follow some key pieces of advice from real experts and try your hand at it, you might succeed at eclipse photography.
Luckily for you, we have precisely that to offer you—some key pieces of advice by one real expert, namely Keith Ladzinski, a National Geographic photographer and Emmy-nominated director. Below are Ladzinski's top tips for taking photos of the upcoming solar eclipse, as shared with Thrillist:
Choose the right camera
In theory, every camera works, but in relation to the total solar eclipse, Ladzinski feels strongly about Canon's EOS R series. Depending on what camera you choose within that series, you'll have a slightly different final result. According to him, full-frame cameras such as the EOS R5 or R8 give you high-quality photography, while APS-C cameras like the EOS R50 or R100 provide a larger sun disk thanks to their smaller sensor size.
The right lens is important too
Photographers will know this already. A camera's lens makes or breaks your photo, and you need to know which one to use on a given occasion. For the eclipse, Ladzinski recommends choosing a lens based on your desired sun or moon size relative to your camera's sensor. For example, if you're looking for a wide-angle shot during a solar eclipse, you should pick lenses like the RF15-30mm F4.5-6.3 IS STM Lens or similar.

Don't forget about choosing a solar filter
This one is crucial as well. For safe viewing (and for the best photography results without damaging your camera), you should pick up a solar filter with CE or ISO certification. It should cover the front of your lens and rear filter trays for super telephotos. Additionally, Ladzinski recommends you avoid using ND filters for direct viewing, because harmful light could still pass through.
Pick a suitable tripod and head
Make sure your tripod is sturdy, and if you can, select one that has four-section legs for portability. It should reach eye-level without fully extending, too. In terms of head, Ladzinski suggests you choose an equatorial, gimbal, or ball and socket head so that you can easily turn your camera towards the sky during the eclipse.
How to actually photograph the eclipse
Ladzinski advises using a solar filter for the partial phases of the eclipse. If you want to take a photo of the iconic diamond ring effect (when the sun is completely covered right before totality and it looks like a shiny ring of light), remove the filter 15 seconds before totality. To take a photo of Baily's beads, instead, remove the filter five seconds before totality hits. During totality, the filter isn't needed, but you should put it back in place once totality is over.
Use your camera in manual mode
Finally, it's important you use your camera manually. As Ladzinski points out, you will get better photos if you use manual exposure mode. You should also test your equipment and solar filter in advance, and on eclipse day, don't forget to periodically check your settings. Good luck!
Ready to go stargazing?
Here are all the best stargazing events that you can get out and see this month or you could stay in and stream the northern lights from home. If you're just getting started, check out our guide to astronomy for beginners or easy stargazing road trips from big US cities.

